Photography can be a fun and rewarding thing to learn, but where do you start? How should you set up your camera, what skills should you work on first, how should you be processing your photographs?
This in-depth guide aims to answer those questions and help you create a foundation for success as you pick up this exciting new hobby of photography.
- Set up your first camera.
- Understand how your camera works.
- Learn Technical/Artistic skills.
- Learn processing in photography.
- What Makes a Great Photograph.
- Never stop learning.
Setting up your first camera
When you unpack your first camera you may be intimidated with the various menus, settings, and options for customization.
The camera user manual, while it does contain valuable information, is often dry and technical which only compounds the issues of learning this new technology.
While you could embrace the good old “play with it” method of learning it can lead to frustration if your early results don’t live up to expectations.
This method can also lead to learning less than optimal ways of using your camera making it more difficult to fix bad habits later on.
Each camera manufacturer has its own design, terminology, and specifications. So, it’s difficult to provide you with an exact guide for setting up your specific camera.
As a result, for detailed instructions about your camera, I suggest searching YouTube or specific guides found on the internet. Just Google the brand and model of your camera to find more specific help.
Regardless of manufacturer, there are a few important steps you should take to make sure your camera is set up to your liking. Let’s go through those individually.
Image Quality:
The simplest route to take is to save your photographs in the highest quality JPEG option your camera offers.
This will allow you to focus on learning how to take photographs while allowing the camera to handle the bulk of the image processing.
You’ll still have the ability to add some minor touch-ups if you want to later, but you won’t have to process your images on your computer.
As you progress and become more comfortable with your camera and the techniques you’ll learn in the rest of this article, you may want to switch this setting to capture your images in a RAW format.
The advantage of RAW format is that your images are left unprocessed by the camera, allowing you to choose the processing that reflects the image you saw when you captured it, not the preset processing that your camera performs when saving a JPEG (sharpening, contrast and saturation levels).
Due to this unprocessed nature of a RAW file, it turns out to be a much larger file. Depending on the size of your camera’s sensor this could be more than 10 times larger than your JPEG images.
This means you’ll notice that the number of images you can capture on your SD card will drop substantially, so you may need to purchase additional or larger memory cards.
Understanding how your camera works
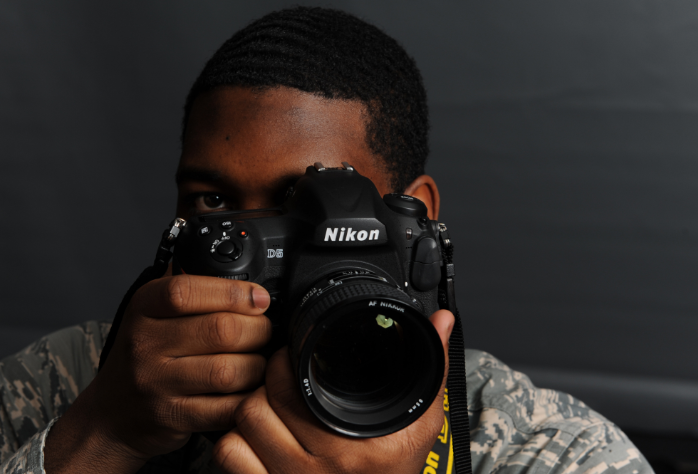
A camera is a simple device which is really only comprised of a few key parts. For standard DSLRs, there is the camera body with a Lens Attached.
Your camera body contains everything needed to capture and process an image, while the lens is what focuses your image onto the sensor inside the camera.
The way these two components (the camera and the lens) work together is as follows:
Light comes through the opening in your Lenses.
When you are not shooting there is a mirror inside that reflects that light up through a prism (think periscope) and through the eyepiece, so you can view the image as seen exactly by the lens.
Moreover, When you press the shutter button to take a picture, the mirror flips up out of the way, and the lens adjusts to the chosen aperture (opening in the lens, more on that later).
The shutter in the back of the camera then opens, allowing light to hit the sensor, creating your image.
The camera saves the image to your memory card, the mirror returns to its original place and it’s all reset ready for you to shoot again.
This all happens in less than the blink of an eye. If you have a Mirror-less camera they work a little differently. They do not have a moving mirror system.
Instead, what you see in the viewfinder is a live feed of exactly what the image sensor is processing.
This allows you to see things like Depth Of Field, the exposure, White Balance and more, before you even take the photograph.
When you press the button of a Mirror-less camera, the lens adjusts to the chosen aperture, the shutter opens, and the image file is saved to your card.
Technical skills
Your First Skills as a Photographer:
Now that you have a basic understanding of how your camera captures a photograph, it’s time to start developing your skills as a photographer.
There are three major concepts that you’ll need to develop; technical skills, artistic skills, and personality.
Technical Skills:
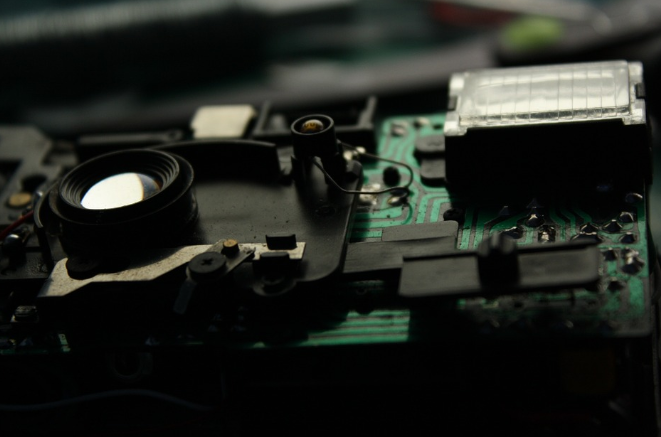
The technical skills of a photographer revolve around what settings you choose to take the photo. That includes: just knowing how to use the camera and change settings, getting a good exposure, focusing a sharp image, getting the right color, etc.
These are the things you need to learn to understand how to make your photographs sharp and properly exposed.
Learning How to Focus:
In addition to learning how to properly expose your photographs, you’ll need to learn how to achieve the proper focus.
Achieving sharp focus may be even more important than the perfect exposure simply because software is still unable to truly correct for soft focus.
Focus Modes:
Your camera allows you to tailor the type of focusing it will do, to the subjects you want to photograph. Each manufacturer picks their own way to describe these modes, but they work in the same manner on all cameras.
1- Single Focus Mode:
AF-S(Nikon) / One Shot (Canon) – When you specify this mode the camera assumes that your subject is not moving.
When you press the shutter button half way down the camera will snap into focus and lock onto the subject. You can then recompose your image while holding the shutter button part way down to maintain this focus.
Once you depress the shutter button fully your image will be captured.
2- Continuous Focus Mode:
AF-C (Nikon) / AI Servo (Canon) – This is a continuous shooting mode which automatically tracks your initial focus point as the subject or camera moves.
Use this mode for photographing active children, pets, sport, or other action related subjects.
3- Auto Mode:
AF-A (Nikon) AI-Focus (Canon) – This option tries to guess which of the above two options is right for the situation you are currently photographing.
While this may seem easier and more intuitive to use, it can also be frustrating as your camera starts doing one thing. It also has the chance of getting it wrong.
Focus Points:
Your camera is also capable of focusing on a single point within your viewfinder’s frame or by using multiple points within that frame.
In most cases you when your subjects are slow moving or stationary you’ll want to use single point focus mode. You’ll switch to a multiple focus point mode when you’re photographing action such as birds in flight or sports.
Artistic skills:
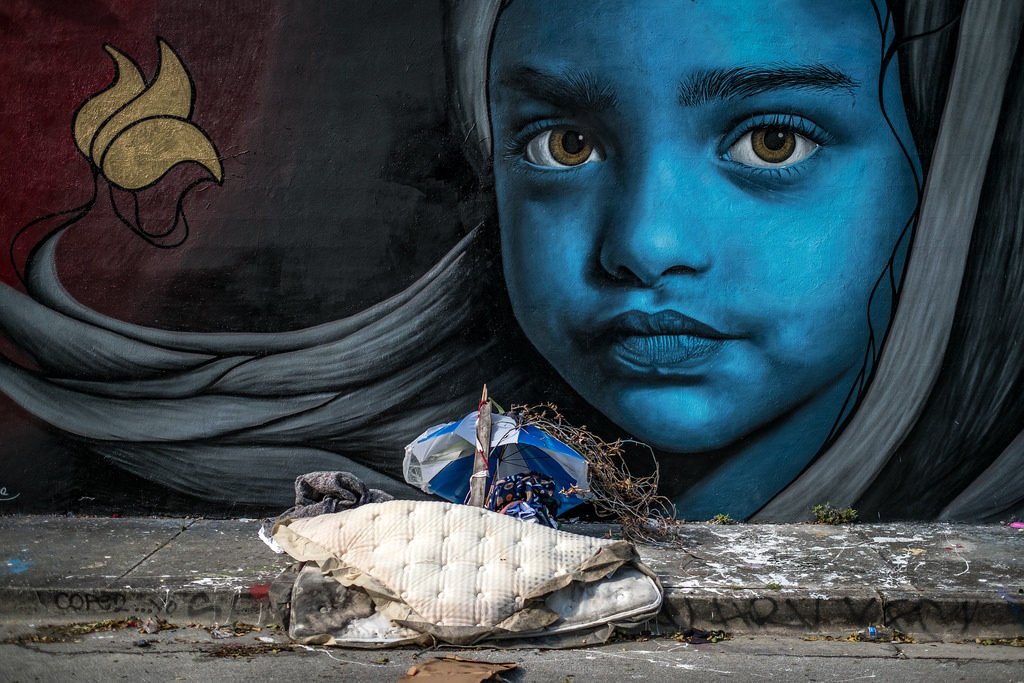
While technical skills will allow your images to be sharp and well exposed, they won’t help you to capture interesting photographs. This is where your artistic skills will come into play.
Things like composition, subject matter, and creating drama with light all play a role in determining the interest level of the photographs you capture.
A Couple of Key Things to Note
- Leave room in front of your subject, not behind. In most cases, you will want to leave room in front rather than behind it.
- Use one-third of your image for providing structure or grounding your viewer to the scene that you are presenting, and two-thirds to showcase the reason for photographing the scene.
- Leading lines is a tool that you can use to pull your viewer into and through your photograph.
- Curves are similar to leading lines in a way but rather than straight, they are rounded.
- Reflections are a great way to fill your scene with interesting elements. You can have a sunset reflected in a river, which leads toward the sunset itself for example.
Your first time processing photographs
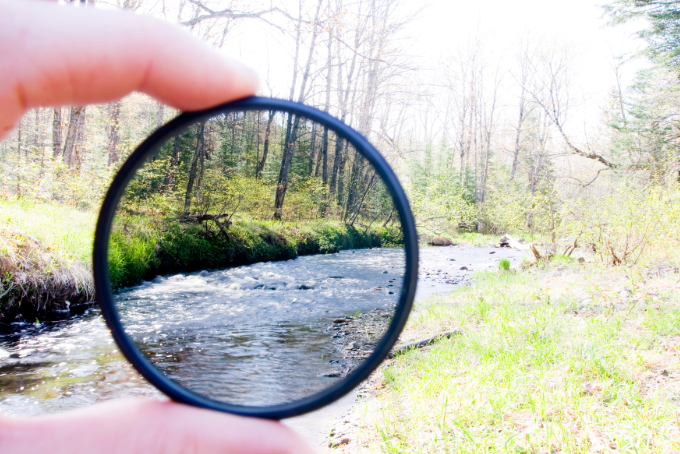
Your post-production skills are what can take a great photograph to the next level, but processing does not create great photographs.
A great photograph is created the moment the shutter is released, not on a computer, hours or days later.
Therefore it is important for you to have at least a fundamental understanding of post-production as you begin taking you first photographs.
What Makes a Great Photograph
Understanding the concepts explained earlier is a great starting point. But great photographers, and ultimately great photographs rely on more than just the ideas and concepts.
It’s about how these all interact with one another.Great photography relies on a thoughtful composition.
This means that you as the photographer are choosing the right composition for the specific subject you’re photographing.
Just because The Rule Of Thirds is a great type of composition, it doesn’t mean that it’s the right one to use for every photograph.
The same can be said about other aspects of photography. Finding the right way to tell the story, the right way to expose the scene, the right way to process the final image – these all affect the final outcome.
It takes a lot of practice, time, and energy to do these things as second nature, but that’s part of the reason you learn something new.
Here is a list of the best $50 dollar cameras if you are on a budget.
Never stop learning
Remember, photography is truly fun and can be extremely rewarding to learn as a skill, but it is a skill that can take a long time to develop.
Over time you’ ll find yourself asking questions about your composition or the exposure that you’ve chosen for a particular photograph.
You’ll start to hear yourself analyzing the light in a scene as you’re walking down the street with friends. Photography can change the way you see the world if you let it.
Over the next several months if you continue to work at improving the skills mentioned in this article you should see improvement in your photography.
Remember to compare your photographs with those that you’ve taken in the past and not against other photographers, even if they are starting at the same time as you are.
We all learn at different speeds, so all you need to focus on is improving your own images.
Conclusion (how to start photography)
The final suggestion is for you to join a photography community. Whether it’s a Facebook Group, an online forum, or a local club, the support and encouragement you will get from other photographers will be priceless as you build upon these basic skills with more advanced techniques.


