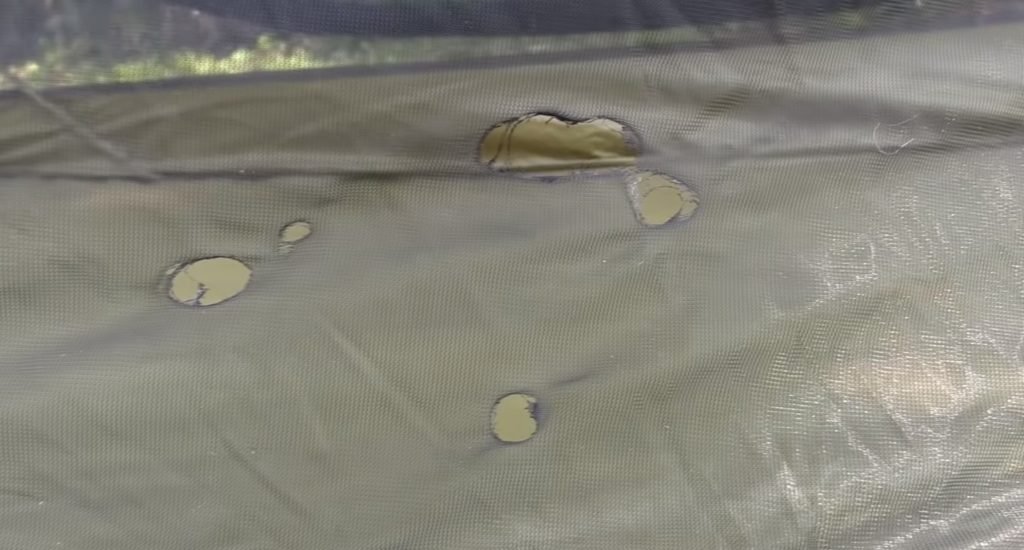
It is always a bummer when a tent you have spent so much money on gets damaged, either by breaking, tearing, or wearing out. We always want to get as much service of something for as long as possible.
Therefore, when it gets damaged, we try as much as we can to fix it before we get to the point of replacing it. The idea here is to be sufficient, save money and time.
When a tent gets a tear, especially a large one, many people prefer to dump it in the trash and buy another one. It can be expensive to replace a tent every time it is damaged. It seems like it has run its course just because of that one tear or hole.
Not so fast, it is entirely possible to save your beloved tent from eternal damnation. Learn how to repair those tears and save money doing it yourself.
To repair a tent you can choose from a cheap and fast solution to a more complex and durable method of repair. Fixing a small tear is easier and faster than fixing a larger tear. How to repair a large tear in a tent? You either use tenacious tape to cover the hole and/or sew the hole. Both these methods are detailed down below.
A tear in a tent can be caused by anything, and it can happen anywhere. Sharp sticks, falling tree branches, rocks or even strong winds that your tent is unable to withstand can cause large tears.
In the course of this article, we shall look at what to pack in your patch kit, we will most importantly also learn how to do repairs of tears on tents.
Now that you know the general picture, Let’s look at some of the ideas on repairing the tear on your tent. Here are the examples and according to the type of the damage. We start with the smaller tears:
Fixing A Small Tear (Tent Repair Tape)

I realize we are focusing on large tears on tents, but the small ones more often than not will turn into large ones, and that will present a big problem.
Therefore it is the correct call to get them while they are small, keeping them from becoming worse. Small tears are not complicated to repair.
- Use tent repair tape and seam sealer on the damage.
- Cut your tape at least one inch more in size than the tear, on all sides.
- Make the corners of the tape round to keep it from peeling and thus will last longer.
- Lay your tent on a hard surface and peel off the backing of the tape.
- Press the tape onto the tear and apply enough pressure for it to adhere to the surface.
- Apply seam sealer to seal the damage and make it waterproof.
- Remember to use tent repair tape made for a specific type of tent material.
If you use the wrong tent repair tape on a nylon tent, then it may cause damage. For a canvas tent use, taffeta repair tape and seam sealer made for canvas tents.
Using duct tape to repair a tear
Duct tape holds as well as any other method of repair. It is a fast, easy, and cheap fix method of repair. This tape saves when you are stuck and have no idea on how to do it or where to start with the repairs when damage occurs.
Using duct tape, however, is not a permanent solution as it needs to be continuously changed because when it gets water, it will start peeling off and de-touch it will also not keep the tear from running and making it bigger.
Duct tape should be among the things you pack on your camping trip whether or not it’s for repairing tears or for other uses.
Fixing A Large Tear

There are two ways you can repair a large tear in a tent. Each has its own pros and cons, Starting with:
Mend a tear with tenacious tape
The tenacious tape is a clear or colored, highly sticky, and durable tape that is designed specifically for fabrics. It is an excellent option of repair for a large tear.
It is straightforward in using and highly reliable in that it is a permanent solution to your tear worries. Here are the steps:
- Prepare your surface:
When anything made of fabric rips or tears, it often leaves some exposed threads that may make the tear or rip larger and worse. A tent is no exception. Before starting the repair process, cut or trim the exposed threads with sharp scissors to have a clean and clear surface .
- Clean your tent:
Be sure not to repair or work on your tent when it’s soiled or dirty. Scrub and wash it first. If it was clean when you noticed the tear, then use rubbing alcohol on the surface around the tear both inside and outside.
- Steam:
You might need your tent to be straightened out in the area where the tear is. Creases on the tear area might affect the way the tenacious tape stick onto the fabric. Steam the surface of the tent where you need to do repairs for better and long-lasting results. This step is optional, so if you do not have access to a steamer, do not panic; with excellent precision, you can repair the tear just fine.
- Use tenacious tape on the inside:
Cut the tenacious tape about an inch bigger than the tear. Just like the tent repair tape, cut corners off of the tenacious tape so that they are rounded to reduce the possibility of peeling off once used. Start by placing the tape on the inside of the tent. Peel off the backing of the tape and press on the tear enough so that there are no bubbles formed between tape and surface. Bubbles are the air that will make the tape peel off. Applying the right amount of pressure will see the tape adhere to the tent.
- Seam grip on the outside:
Although tenacious tape is useful when used by itself, using seam grip will make the repair long-lasting and also waterproof. Apply some seam grip along the edges of the tear, and use your finger, cloth or brush to spread the seam grip all over the damage entirely and an inch more.
- Leave to dry for 24 hours:
Give the tenacious tape and seam grip 24 hours to dry off, cure, and set before using. After the 24 hours are over you are sure that your tent is ready to be pitched.
Sewing A Large Tear

Canvas tents rarely get ripped or torn because of its sturdy material, but when it does, it would be great to know how to repair them because buying new ones to replace damaged tents can be expensive.
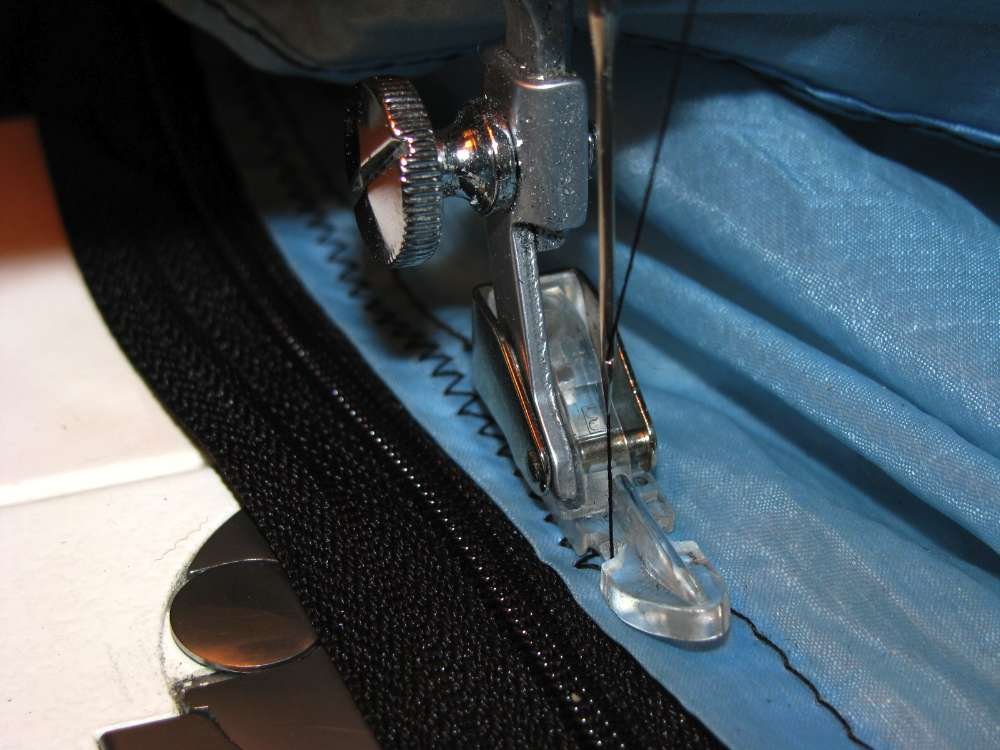
Therefore when your tent rips or tears get yourself a needle and thread and get to sewing. Here’s how:
1- Sew:
- Use sewing owl since you are sewing canvas also use waxed thread to sew the tear on the tent.
- Make sure to sew in neatly and close together so as not to leave any gaps in between the stitches.
2- Place a piece of canvas over tear:
- Cut two separate pieces of canvas and use them to cover the torn area from the outside and inside of the
- Make sure the pieces are not the same size as the tear; make each of them an inch
- Start sewing on the inside part, also making the stitches close together and secure to keep the whole from
- With the piece on the outside, use canvas cement to stick it in place.
- and press the piece so as adhere properly over the sewn
- Read the instructions properly because different sealants take different durations of time to dry adequately.
3- Seam sealer:
- Make sure to use a canvas seam sealer to seal the
- Apply generously on the sides and the stitches to make sure that they are made waterproof and kept from unraveling.
- a case where the tear has loose material around it, both ends can be pulled close together and one side folded under the other and with small stitches sewn firmly
- On the stitches, a seam sealer can be applied to seal it completely.
Conclusion: How To Repair A Large Tear In A Tent
t is essential to inspect your tent thoroughly days before a planned camping trip. An inspection gives you time for repairs. Also, be prepared by packing a patch kit just in the case damage happens during the camping.
We hope you enjoyed our quick guide on how to repair a large tear in a tent, If you enjoyed it make sure to leave a comment down below telling what type of problem did you have and how were you able to fix it.


